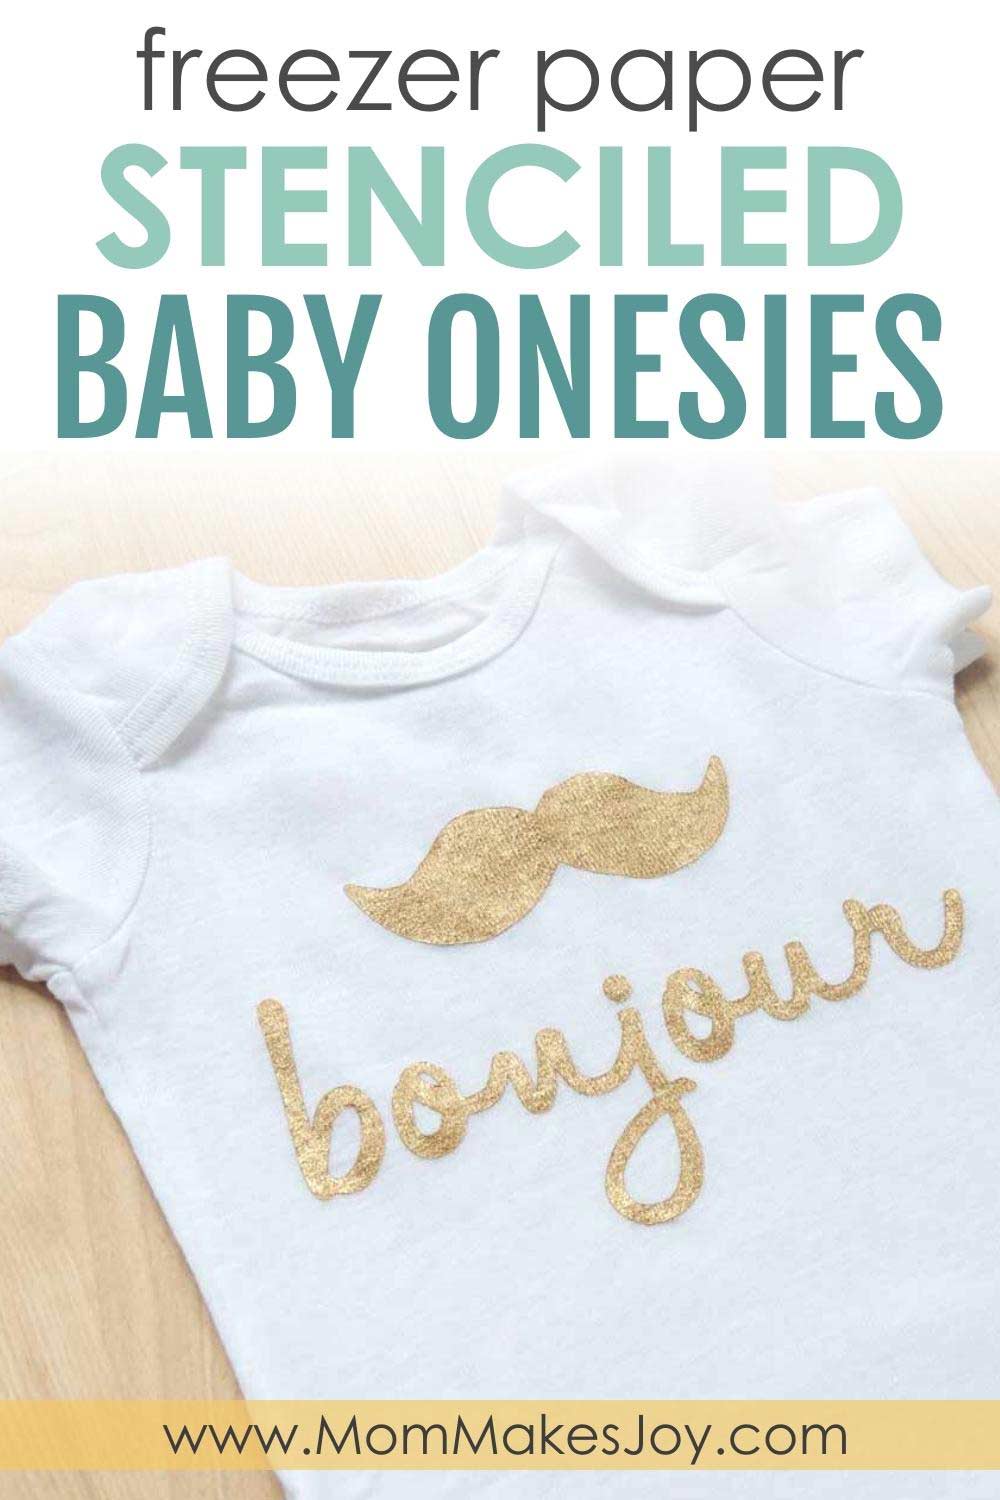
Freezer Paper Stenciled Baby Onesies
This post may contain affiliate links (full disclosure policy). As an Amazon Associate, I earn from qualifying purchases.
Did you know you can use freezer paper–that kitchen paper you can wrap meat in–as a stencil to make your own custom baby onesies? Freezer paper stenciled baby onesies are super easy and fun to make! Here’s how you can make your own.
I’m REALLY excited to share with you today’s project: freezer paper stenciled onesies! I have to admit though, the first time I learned of freezer paper stenciling, I was a bit skeptical.
First of all, I wasn’t sure what freezer paper actually was; obviously a type of paper, of course, but was it basically wax paper? Parchment? And why would I put it in the freezer? I was also skeptical about its efficacy as a stencil on cloth. Surely the fabric paint would just seep right through, right?
If you’ve never freezer paper stenciled before, or if you’re a skeptic like I was, then this tutorial is for you!
First, let me just begin by just clarifying I’m not pregnant (although having kids is in the life plan, at some point). I mostly decided to make onesies because they’re reasonably inexpensive and come in a pack of three, so if my fabric project failed miserably I had 2 more takes to get it right! Plus, onesies are adorable, and I figured it wouldn’t hurt to have some lying around for baby shower gifts (since just about everyone is having a baby right now) or for future Baby W.
TO GET STARTED, YOU WILL NEED:
- Fabric Paint
- A Silhouette machine (or an exacto knife and some mad cutting skills)
- An iron
- Foam brushes
- Onesies
First, I created my onesie design using my Silhouette (a Cricut also works!) and cut it out with my machine. I found that using a blade of 2, a speed of 3 and a thickness of 10 did the trick just right. I laid my freezer paper on my mat shiny side down and didn’t have problems, but some recommend cutting shiny side up if you encounter cutting difficulties.


If you opt to go the shiny-side-up route, just be sure to flip your design so that the machine cuts it out backwards. That way, when you lie the stencil flat on your onesie shiny side down, the design will be facing the correct way. While your machine is cutting away (it’s my husband’s new favorite sound), iron your onesie flat.

Once you have your design cut out, lay out your stencil and iron it down with a warm iron. I was surprised how well the freezer paper adhered to the fabric once ironed–even the tiny pieces of freezer paper that made up the loops in the J, B, and Os! Next, place a piece of cardboard or very thick cardstock (or plastic or what have you) inside your onesie so that when you apply your paint, it doesn’t seep through to the back of the onesie.
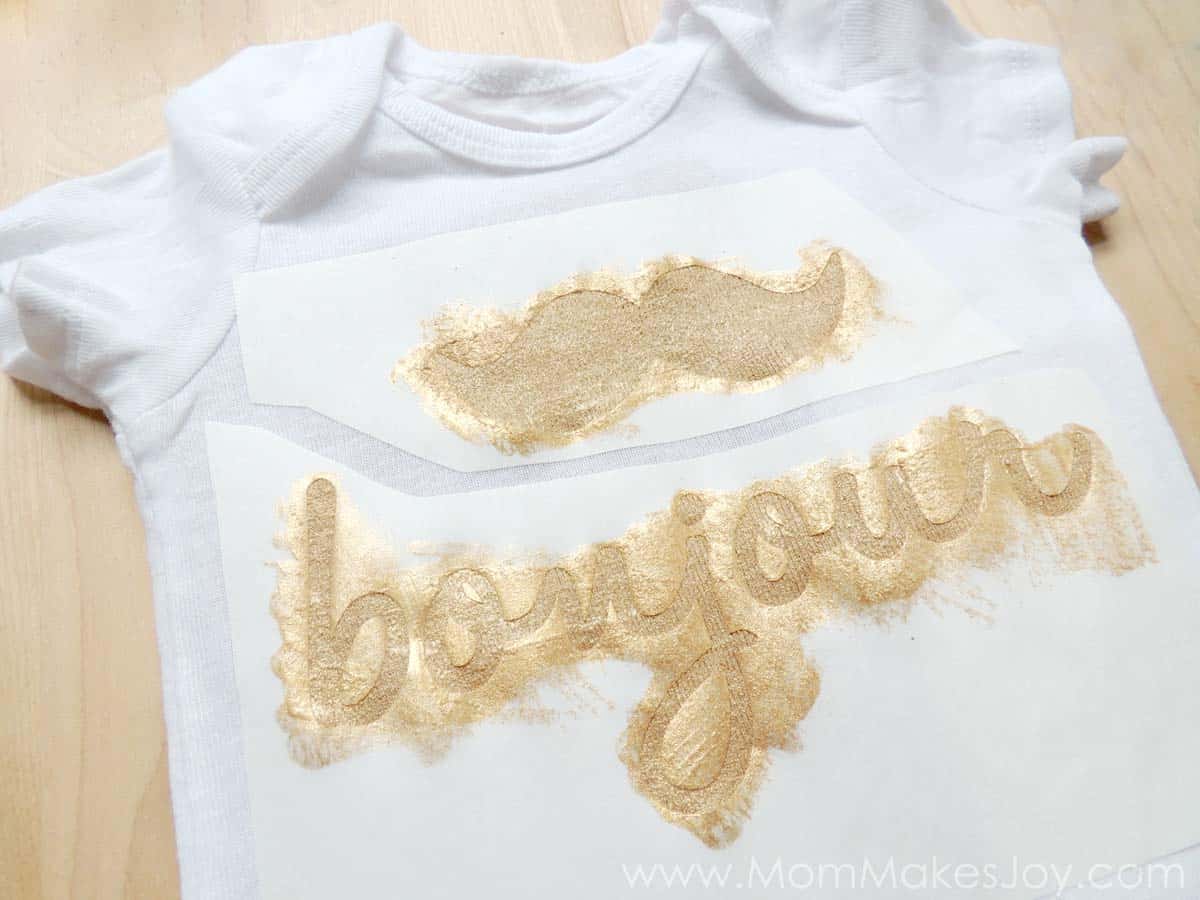
From here, dip your sponge brush into your fabric paint and dab–NOT swipe!–your pain onto your design. Swiping may lead to the more intricate pieces of the stencil design (like the tiny loops in the Os) separating from the fabric. Apply 1-3 coats of paint to your fabric, letting each coat dry (or almost dry) before applying the next.
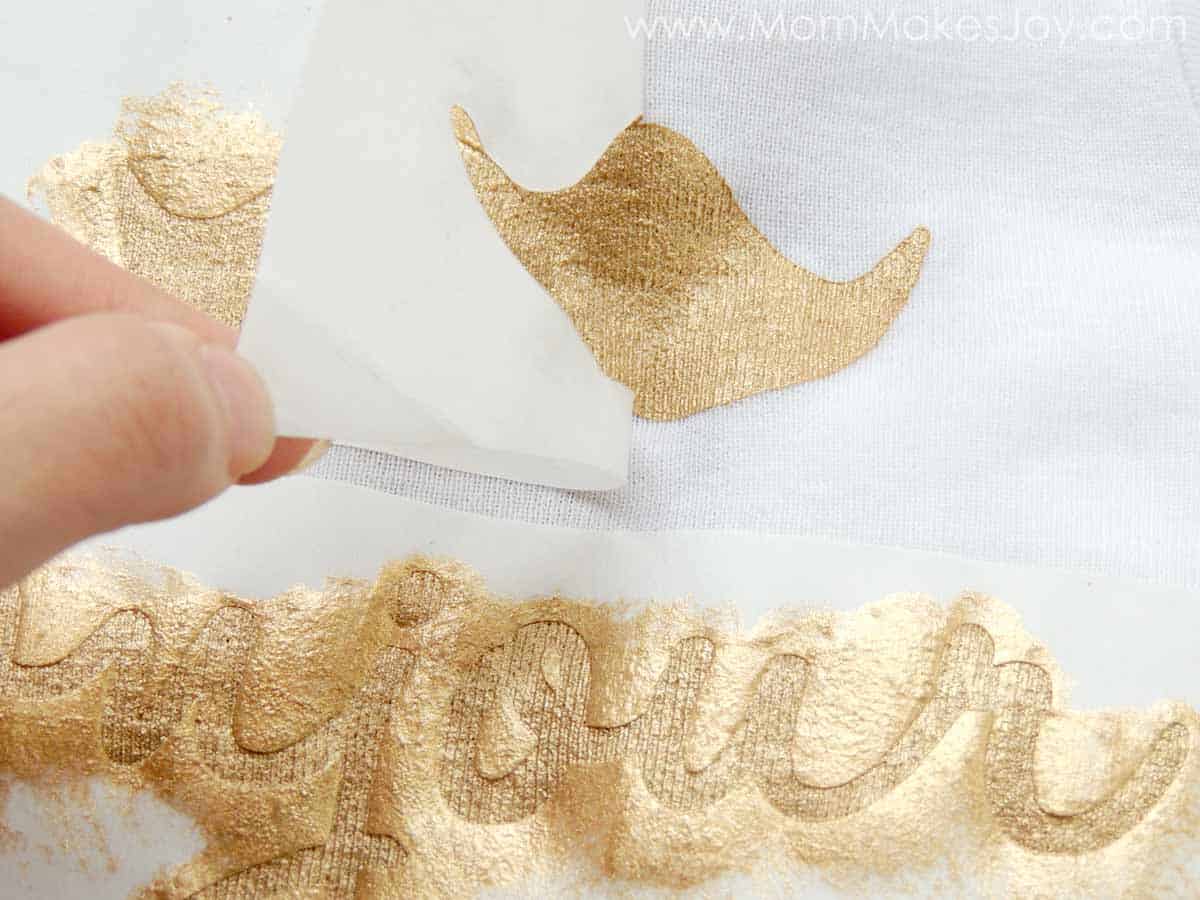
Once your paint has dried completely, you can gently pull off your stencil from your onesie. I was really shocked at the clean lines I got, especially considering all the paint I slopped on there!

Then, all that’s left to do is admire your finished product! And to make more onesies, of course, because you probably still have two left over, and because it’s amazing good fun and you probably want to freezer paper stencil everything now. At least I did, so I made a couple more!

A while back I saw this funny onesie (probably on Pinterest) and thought it was hillarious, so naturally I had to recreate it. I would definitely put my kid in a onesie this punny.
FREE CUT FILES!
So, are you ready to make your own freezer paper stenciled EVERYTHING now? Well then you’re in luck! Because today I have for you not one but TWO free cut files for you!
Click HERE to download your FREE cut file for the Bonjour onesie
Click HERE to download your FREE cut file for the I’m Acute Baby onesie
(Please note that these files are for personal use only)
If you enjoyed this post, be sure to check out our digital library of helpful tools and resources that help you organize your life, connect with your kids, focus on your well-being, and love being at home.


